
We’re excited to introduce shinyreact, a new package for R and Python. It lets you write the UI of a Shiny app in React, with any component library on npm, while reducing your Shiny server code to data-only logic.
shinyreact splits a Shiny app along a clean line. The Shiny server does reactive computation. The UI is a React client that you own. shinyreact is the bridge between them, and it ships zero UI components of its own.
You can install it from CRAN or PyPI:
shinyreact is new, and so is the way of building Shiny apps it proposes. We intend to keep the API small, but expect it to evolve as we learn from early adopters.
Shiny + React?#
For most Shiny apps, defining the UI in your app.py or app.R file allows you to construct a complete, production-ready app in just a few lines of code.
The trouble starts when the design asks for something Shiny and bslib don’t have: a unique layout, richer interaction, or a component from a non-Bootstrap design system. At that point, Shiny hasn’t had the right tool for the job.
React is that tool, for three reasons:
- Ecosystem. React is the most widely used UI library on the web. Design systems, charts, tables, and maps are all one
npm installaway. - The right model. React components are functions of state, which fits Shiny’s reactive model naturally. When the server sends new data, the UI re-renders efficiently.
- AI assistance. LLMs have trained on an enormous amount of React code. Ask a frontier agent for a UI and it will produce better React than it will bespoke Shiny UI. This aligns with Shiny’s goal that app developers should never be required to write low-level HTML or JavaScript themselves.
Later in the post, we’ll discuss a genomics app that renders a 584,000-cell UMAP on the GPU from a plain Shiny server. First, the basics.
Old Faithful with shinyreact#
Here is the classic Old Faithful histogram app as a shinyreact app:
library(shiny)
library(shinyreact)

# Set up the page UI using shinyreact
ui <- page_react()

server <- function(input, output, session) {
  x <- faithful$waiting

  breaks <- reactive({
    seq(min(x), max(x), length.out = input$bin_count + 1)
  })

  # Use `reactive_output()` to send data to the client
  output$dist_data <- reactive_output({
    bins <- hist(x, breaks = breaks(), plot = FALSE)
    list(breaks = I(bins$breaks), counts = I(bins$counts))
  })
}

shinyApp(ui, server)
import numpy as np
import pandas as pd
from shiny.express import input
from shinyreact import reactive_output, set_react_page
# Set up the page UI using shinyreact
set_react_page()
x = pd.read_csv("faithful.csv")["waiting"].to_numpy()
@reactive_output
def dist_data():
breaks = np.linspace(x.min(), x.max(), input.bin_count() + 1)
counts, _ = np.histogram(x, bins=breaks)
return {"breaks": breaks.tolist(), "counts": counts.tolist()}Two things are different from a traditional Shiny app.
- The UI is one line.
page_react()(orset_react_page()in Shiny Express) serves the React client that lives in your app’swww/directory. There’s nosliderInput()orplotOutput(). Thewww/directory contains the static assets for the React app:ui.jsandui.css(when available). - The output is data.
reactive_output()has no matching UI function. This is a new concept for the Shiny ecosystem!renderPlot()sends an image forplotOutput()to place.reactive_output()sends plain JSON, here the histogram’sbreaksandcounts. Like any render function,reactive_output()re-executes each time its reactive dependencies change. The server sends facts and React decides how to present them.
Now the client:
// src/ui.tsx (which compiles to www/ui.js)
function App() {
  const [binCount, setBinCount] = useShinyInput("bin_count", 30);
  const bins = useShinyOutputValue("dist_data", null);

  return (
    <main className="layout">
      <label htmlFor="bin_count">Number of bins:</label>
      <input
        id="bin_count"
        type="range"
        min={1}
        max={50}
        value={binCount}
        onChange={(e) => setBinCount(Number(e.target.value))}
      />
      <Histogram bins={bins} />
    </main>
  );
}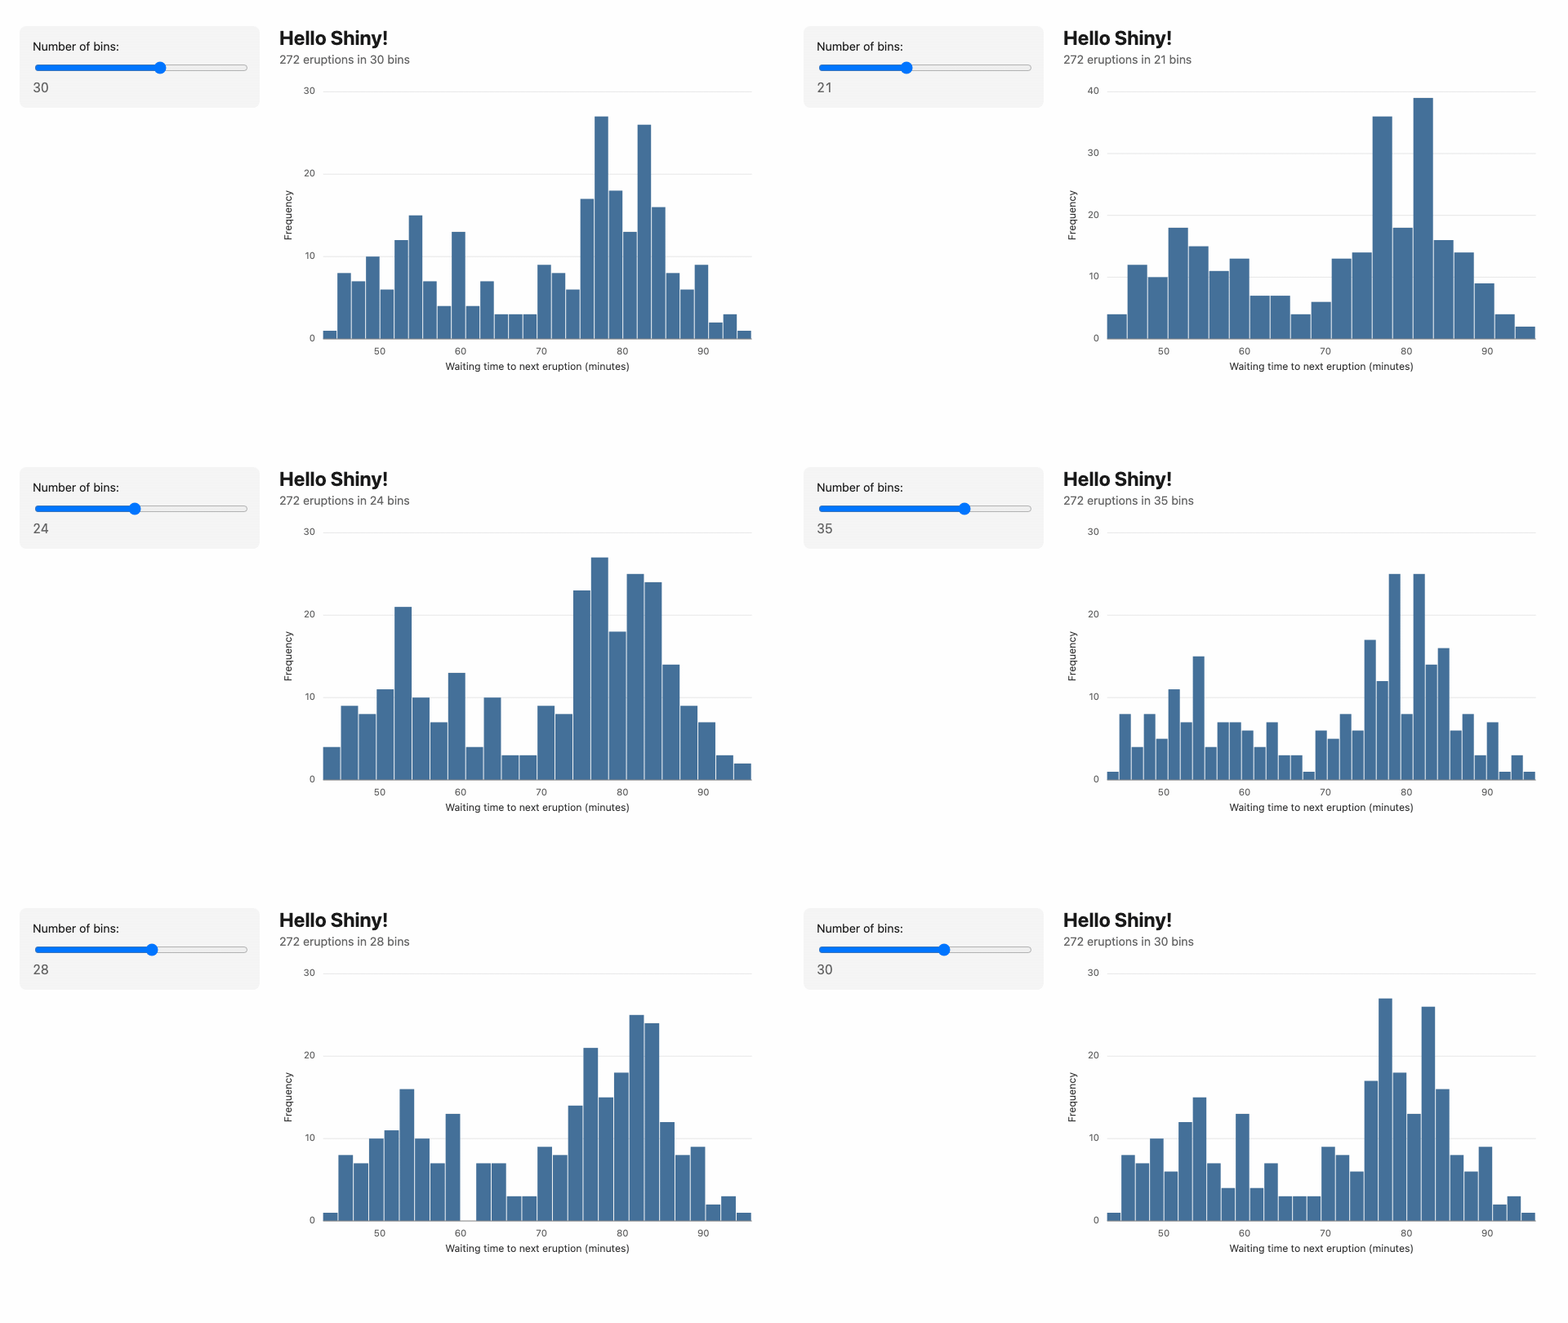
If you’ve written React before, this is an ordinary component. Histogram is whatever you like: a hand-written SVG, a charting library, or a component from your design system. The only shinyreact-specific parts are two hooks:
useShinyInput()works like React’suseState(), except that the value is also sent to the server asinput$bin_count(orinput.bin_count()in Python). CallingsetBinCount()updates the UI and triggers the server’s reactive graph.useShinyOutputValue()reads the value of areactive_output(). When the server recomputesdist_data, the component re-renders with the new data.
Those two hooks cover the vast majority of apps.
IDs and JSON are the contract#
The client and server share exactly two things: IDs and JSON values. If you write the client in TypeScript, each hook takes an optional type for its value, such as useShinyInput<number>("bin_count", 30), and your editor will then flag a mismatch that Shiny.setInputValue() never could.
Here is the full round trip for the Old Faithful app:
- The client calls
useShinyInput("bin_count", 30), which sends{"bin_count": 30}to the server. - The server reads
input$bin_count, runs its reactive graph, and computesdist_datausingreactive_output(). - The client receives the
dist_dataresult as{"dist_data": {"breaks": [...], "counts": [...]}}, anduseShinyOutputValue("dist_data")hands it to React.
That narrow boundary is what makes a shinyreact app easy to reason about. The server doesn’t know or care how the histogram is drawn, and the client doesn’t know how the bins are computed. Each side can be reviewed, tested, and rewritten independently, whether a person or an agent wrote it.
When you need more, a few other hooks are available. useShinyOutputStatus() tells you when an output is recalculating so you can show a skeleton, and useShinyMessageHandler() receives one-off messages pushed from the server with send_message(). See the JavaScript API reference for the full list.
You don’t have to write the React yourself#
A fair reaction to all of this is, “but I chose Shiny so I wouldn’t have to write JavaScript!”. That’s still the goal. What’s changed is that today’s AI agents are very good at writing React, far better than they are at writing custom Shiny UI, because there is so much more React in the world for them to learn from.
With shinyreact, your job is to own the server, which is where your data and domain logic live, and to describe and review the UI. To make that concrete, both packages ship Agent Skills:
shinyreact-build-appscaffolds a new shinyreact app from a description.shinyreact-convert-appopens an existing Shiny app in a browser, describes what it does in plain English, and then rewrites the UI in React against the same server.
The day-to-day loop is familiar. You edit src/ui.tsx (or ask an agent to), the build step writes www/ui.js, and you reload the running Shiny app to see the change. The server side is unchanged: runApp() or shiny run, exactly as before.
Node.js isn’t required, since a client can be a single www/ui.js file with no build step. However, we do strongly recommend it as it gives you a proper development environment: a build step gets you TypeScript, linting, and formatting.
Keep what you already have#
shinyreact doesn’t ask you to throw away the rest of the Shiny ecosystem.
- Existing outputs.
renderPlotly(),render.data_frame, and other render functions work as before. Drop a<ShinyOutput id="..." />into your React tree, and the output’s JavaScript and CSS dependencies are delivered automatically. - Modules.
ShinyModuleProvidernamespaces hook IDs to match a server-side module. - Bookmarking. URL and server bookmarking seed the initial values of
useShinyInput().
Testing at every layer#
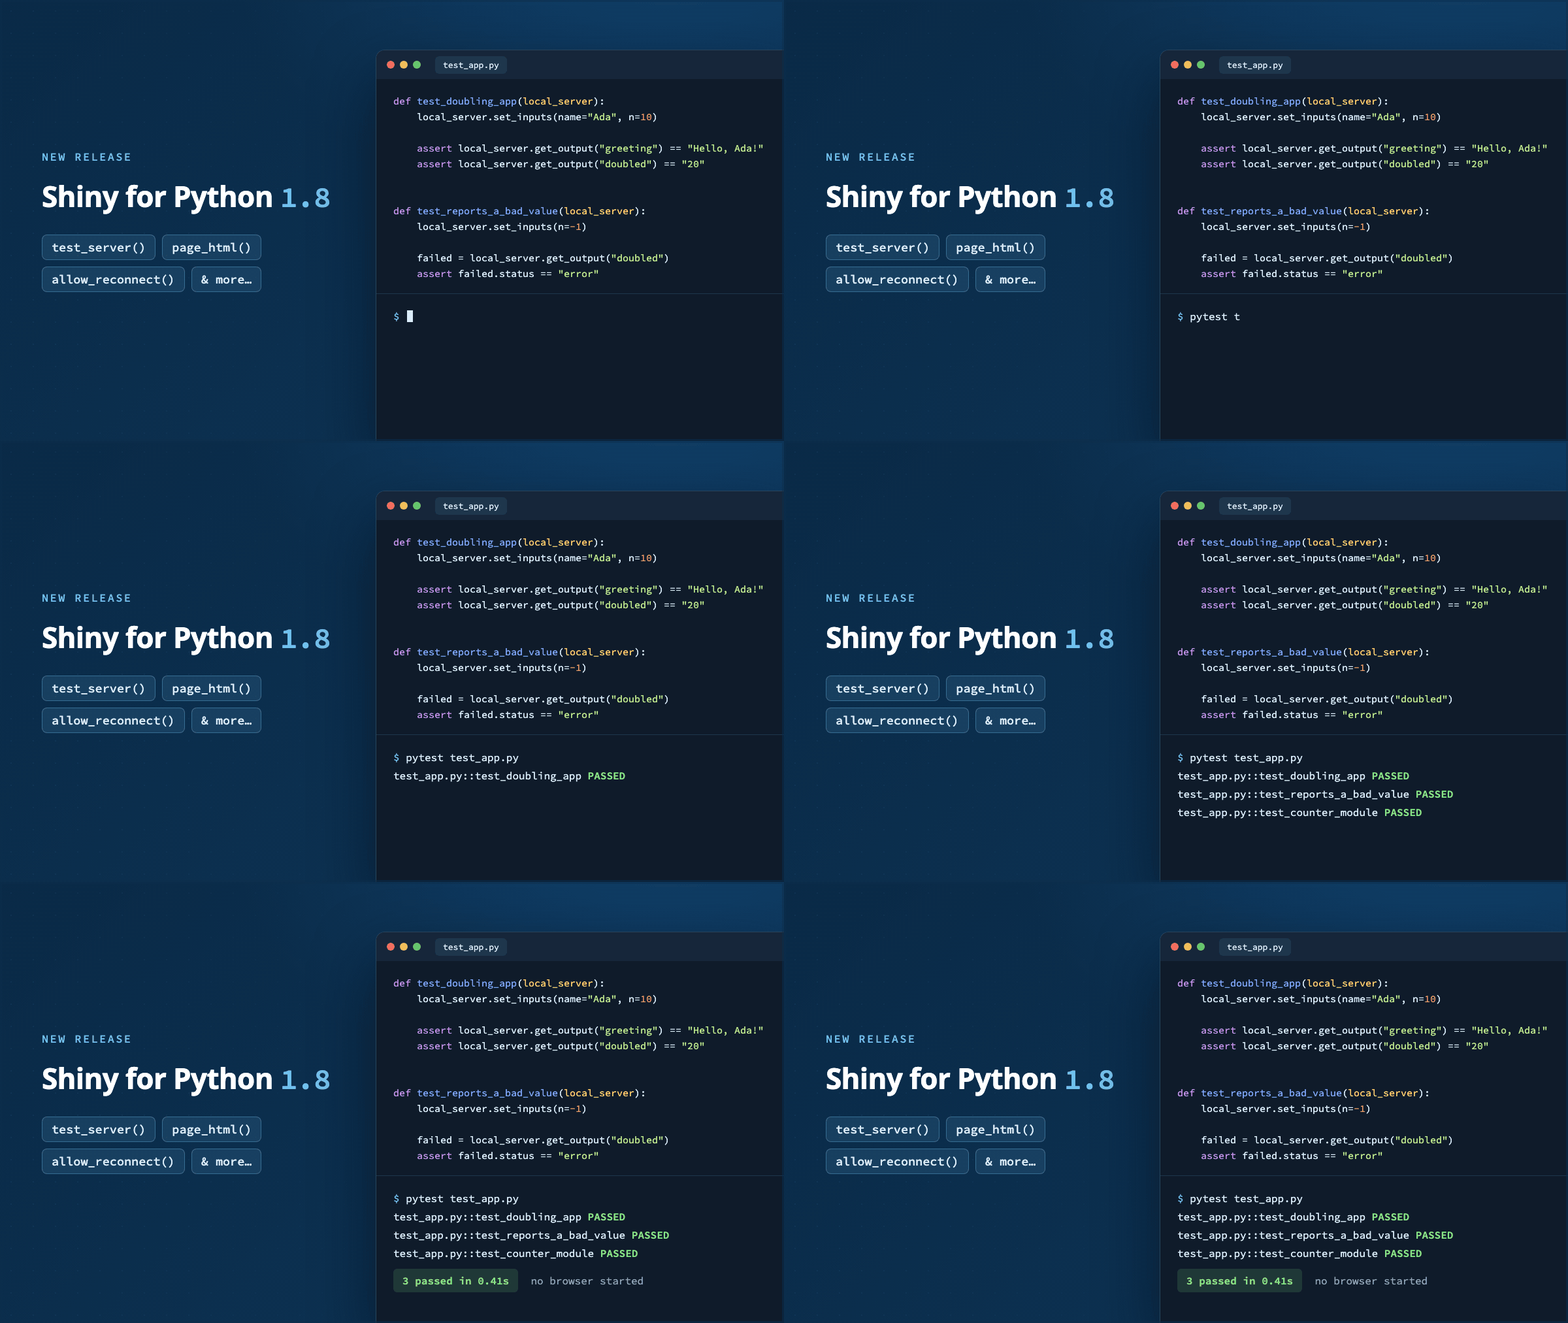
Because the client and server only share IDs and JSON, each layer can be tested on its own. The server is the layer most Shiny developers care about, and it needs no browser at all. Use shiny::testServer() in R, or the new local_server pytest fixture in Shiny for Python 1.8: set inputs and assert on the JSON that comes out.
def test_histogram(local_server):
    local_server.set_inputs(bin_count=10)
    data = local_server.get_output("dist_data")
    assert len(data["counts"]) == 10
The other layers have their own tools:
- The client. Ordinary JavaScript unit tests, with whichever test runner you (or your agent) prefer.
- The wire.
wire_tap()for shinytest2 andWireTapfor Playwright record the JSON crossing the websocket during a browser test. That gives you an end-to-end assertion on what the client actually sent and what the server actually returned, without reaching into the rendered DOM. - The behavior. Each example app ships a
FEATURES.md: a nested list where every leaf is one checkable claim about the app, written in plain English. A person can read it as a spec, and an agent with a browser can walk it and turn each claim into a deterministic check against the running app.
The testing article covers all of them.
In the wild: Plotomics Live#
Over the summer, Shiny intern Samuel Bharti built a collection of bioinformatics Shiny apps. Most of them are plain Shiny and bslib. The one that reached for shinyreact did so because the visualizations demanded it.
Plotomics Live (source, DOI) is a 26-page gallery of GPU-accelerated genomics visualizations, from oncoplots to a one-million-point Xenium spatial view and an interactive 584,000-cell UMAP. Large data skips JSON entirely and moves as compact binary typed arrays straight to the GPU. Because React owns the component, a new selection updates the data in place without re-mounting the visualization or reallocating GPU buffers.
In Samuel’s words:
R stays the analysis engine, React becomes the visualization layer, and shinyreact removes the custom JavaScript bindings, manual message passing, and serialization code that used to sit between them.
What’s next#
We’re working on two directions next:
- Embedding React components in existing apps, so you can adopt shinyreact one piece at a time without porting a whole app.
- Wrapping shinyreact in your own package, so you can build a component once and ship it the way bslib ships its components.
Learn more#
- Documentation: posit-dev.github.io/shinyreact
- Source and example apps: github.com/posit-dev/shinyreact
- posit::conf(2026) talk slides: Beyond Bootstrap: Building Custom Shiny UI with React
Give shinyreact a try, and please let us know what you build and what breaks.